Wednesday, October 5, 2011

Kids in the Kitchen - BBQ Chicken Crescent Pizza

My husband LOVES BBQ chicken pizza, and my kids LOVE to make pizza. Why not combine the two? Here are the ingredients we used:

2 cans crescent rolls
Cooked chicken breasts (I had some precooked breasts in the freezer that needed to be used)
Red onion
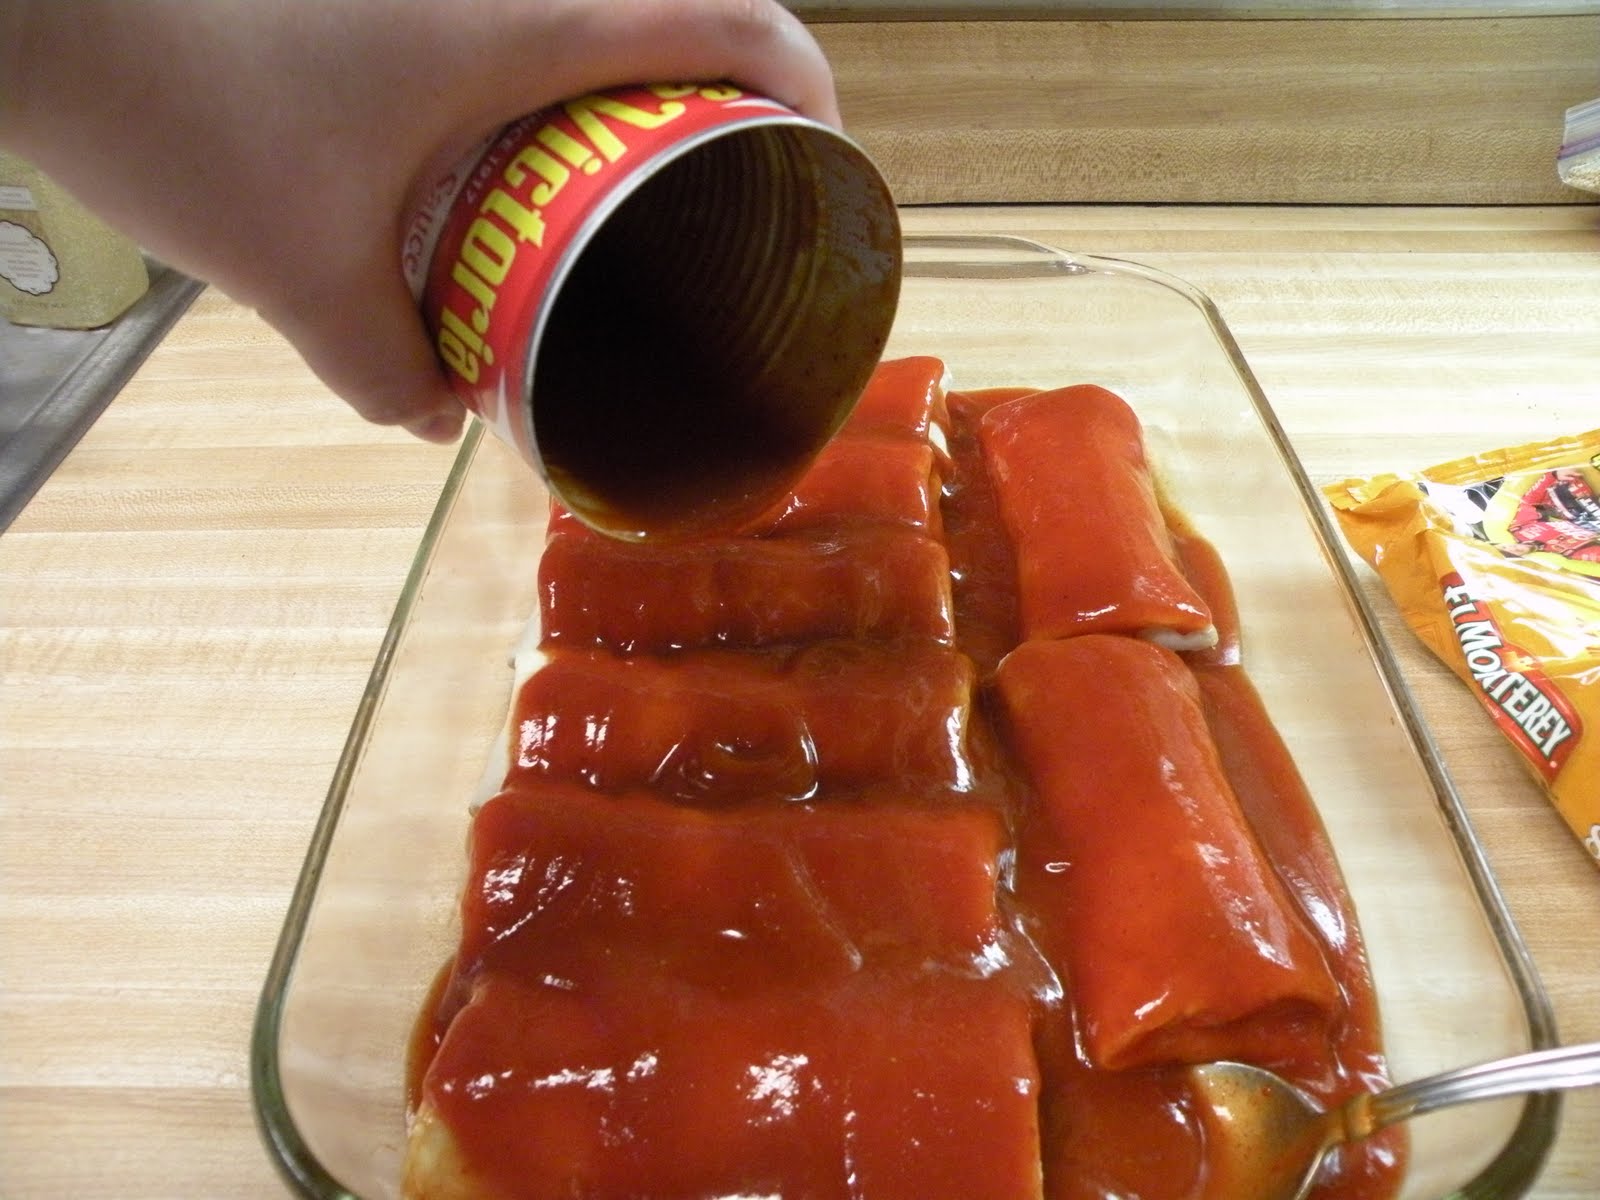
Your favorite BBQ sauce
Cheese - I used Cheddar and Mozzarella


You'll need a large pan. I love to use my Stone Bar Pan. You can tell how much I love that thing by how black it is. Black stones make me smile.


My kids are all ready with the personalize aprons a friend made them. They get so happy when they get to make dinner.


First, I helped by making all of the crescent rolls fit into the pan. Don't worry, if you have any left over they're good just as rolls. 


My handy dandy helpers squished it all together at the seams.


The goal is to have one big heaping help of crescent roll dough filling up the pan.


Bake it at 375* until golden brown. Just sit and marvel at the glorious looking crust you just made. It's a necessary step.


I chopped up the chicken, sliced the onions, and shredded the cheese. I put them into individual bowls so it was easier to split between the two kids. 


I poured a little BBQ sauce on the crust, gave each of them a spoon and they knew what to do....


....spread, spread, spread!


I normally try to leave a dry edge around to help hold the pieces easier, but I think they did a perfect job.


I let them choose between chicken and onions. They sprinkled their choice all over just like the pros.


Then they each got a bowl of cheese to add to the pizza.


Not a bad job for a 3 and 4 year old, huh?


Bake it in the oven just until the cheese is melted. Now I must note, we three like crunchy onions so we make it this way, however my husband does not. When he is home I do sauté up onions in a pan a little before adding them to the pizza since they do not cook in the oven long. Since he was gone, this pizza was amazing for us. 

Sunday, September 4, 2011

Theme Night - Garden Party

We tend to have theme nights in our house. We started with a Monster Night. We watched Monster's Inc., made Monster Cookies, and read The Monster at the End of This Book before bed. It was such a hit that we had Pirate Night shortly after. The kids had both been pirates for Halloween in previous years and still fit their costumes. So they wore those, and we had a meal that we ate with our fingers: Fried Chicken, Mashed Potatoes, Corn on the Cob, Watermelon, and a Biscuit.


So this time we decided to do a Garden Night. We made caterpillars out of egg cartons with finger paints, googly eyes, and pipe cleaners; and we made butterflies out of paper they colored, folded accordion style, and then pinched with pipe cleaners.


We then had egg salad sandwiches with cucumber slices, followed by "dirt" with worms, while we watched A Bug's Life.


Tuesday, August 30, 2011

Kids in the Kitchen - Five Ingredient Enchiladas

My grandmother started teaching me to cook as soon as I was old enough to hold a spoon. I was two and I would be sat upon the counter next to the stove to stir Rice Krispie Treats. So I think it is very important to start teaching kids early how to cook. I'm going to try to start a series of Kids in the Kitchen.  I know, I know, none of these pictures have my kids in them. But I promise to include them more in these. :) I've actually been trying to load these pictures for weeks, but they've been working on the cables in town, so my Internet was making it impossible. Glad to be back to share some good recipes.

Here are the whopping FIVE ingredients you will need to start:

1. Frozen burritos. I use bean and cheese, but use your favorite kind
2. Red enchilada sauce, large can
3. Slice black olives
4. Cheddar cheese
5. Green onions

Optional ingredients: sour cream and cilantro


I first start with a greased baking dish. Spoon a couple of tablespoons into the bottom of the pan. 

Spread the sauce all over the pan. 

Place the frozen burritos seam side down in the pan. Laying them in this pattern allows for the whole package to fit. Then spoon on sauce onto each burrito.

Oh, what the heck. Just pour the whole can over them. I also spoon sauce up onto the sides to make sure every inch is covered.

Shred your favorite cheddar cheese over the top. You can use pre-shredded cheddar or Mexican blend as well.

Sprinkle with olives. Sometimes I'll stop there if we have a friend over who doesn't want olives on theirs. 


However, my kids love olives, so I load them up! These definitely need the salty flavor of the olives to break up the beans.

I also like to add sliced green onions. This was my best crop out of my vegetable garden, so I love being able to use a fresh ingredient that I grew. It also lets me feel a little less guilty of using so many pre-packaged ingredients. But sometimes, that's just what us moms have to do.

Bake in the oven according to the package directions on the burritos. These cook at 375* for 35 minutes.  Just looking at this picture is making me hungry.


I like to serve mine with sour cream and cilantro on top. My husband likes to scoop as much of the extra enchilada sauce out of the pan as he can to put on top of his, especially since he's not a sour cream fan. I try not to judge.

So there you have it. It can be made in 5 minutes or less, and kids can surely do practically every step besides putting it in the oven maybe. Hope you enjoy!


Saturday, July 9, 2011

Black Bear Cupcakes

I made these for our Relay for Life team whose theme was "Hunting Season." I wish I had more tutorial type pictures, but I was in a hurry and making two trays of these had me cooking right up until it was time for me to go to the Relay. Here are the instructions anyway:

Ingredients:
Dark chocolate cake mix (plus ingredients listed on box, ie: eggs, water, oil)
Chocolate icing (about 1/2 tub)
The Oreo cookies covered in fudge (1 package)
Milk chocolate chips
Mini Oreos (1 bag)
Dark jelly beans (I used Jelly Bellies Wildberry...yum!)
Mini Vanilla Wafers (1/2 box)
Black gel icing

Directions:
Make cupcakes according to box directions. When cool, put on a really thin layer of chocolate icing on top of the cupcakes. Put a small amount of icing on the top of the fudge covered Oreo. Put in on top of the cupcake leaning slightly forward; the flat bottom should be facing up. Put a small amount of icing on the back of a mini vanilla wafer and put it toward the bottom of the fudge Oreo. Using a small amount of icing as glue again, put the jelly bean longways on the wafer as the nose. Next, using icing as glue, put two chocolate chips onto the fudge Oreo as the eyes. When putting the mini Oreos on for the ears, it's a good idea to prop them up by using chocolate chips underneath them so that the Oreos stick up more. Pipe mouths with the gel icing last, as it is easy to touch and mess up.

Here are pictures of the final product. The amount of ingredients above only make one tray of these, but obviously you can double, triple, etc. as you need.


Tuesday, June 28, 2011

Children's Changeable Chore Chart with Pocket

My kids are 3 and 4 years old. I know I do so much better at things when I have check lists. Not only is a chore chart going to help them learn responsibility, but let's face it, it's going to help me remember everything they are supposed to be doing as well. With the size of this project, most of it was done right on the living room floor, thus the lovely brown carpet background.

Supplies needed (per chore chart):
Poster Board
Lamination or Contact Paper
Sticky-back Velcro
Markers
Ruler
2 Fabric Pieces approx. 9"x 10" each

First, I drew out squares in colors they picked. I made 8 columns (7 days of the week plus 1 for the chore), and I did 5 rows. I only have 4 chores for each kid right now, but I left room to add if needed. I figure once they get the hang of these chores I'll gladly add more later. I put one side of the velcro in each square and filled in the days.

I found pictures online representing different chores I wanted the kids to do. Both kids have a toy box for picking up their toys, one for brushing their teeth, and a table setting for helping set the table for dinner. Krista has an additional one for brushing her hair, and Mason has one for making his bed. I spaced them out on a page, printed them out, and then laminated it.

Next I put the other side of the velcro onto the backs of all of the chores, and some stars that I printed out and laminated for them to use when they completed a chore.

I then wrote their name on the top.

Next, I wanted to make pockets for them to put their stars in when they weren't on the chart. I started by cutting the fabric they picked out into 2 pieces, each being 9" x 10".  I folded over one edge and sewed a 1/4" seam. This will be the top of the pocket.

After doing this to both pieces, I put them together, wrong sides out, and sewed a 1/4" seam around both sides and the bottom, leaving the top open.

I then turned the pocket right side out. I pinned them up next to their charts making sure they were low enough for them to reach into. Here are the happy kiddos modeling their new chore charts. Ahh, the innocence!

The greatest thing about this chore chart is how easy it is to change the chores. Just print out another picture, stick some more velcro on it, and a new chore is in place. Got to love reusable!

Monday, June 27, 2011

Mail Inbox

I'm sure I'm not the only one who has problems with mail stacking up around the house. My husband always comments how we need a space to put it all, so I made just that. I grabbed a box that a package came in and cut off the top. I then painted it using a styrofoam brush. I put two coats of apple green paint, going in the opposite direction the second coat to cover the streaks since the box was slick.

I then used the same brush to put pain on some styrofoam stencils with purple paint.


I put the word "MAIL" on all four sides.


It came came out blotchy, but I liked how it had an older look and definitely looked like it was homemade. Now all of our mail will go directly in the box for me to clear out any time I have some free time.